
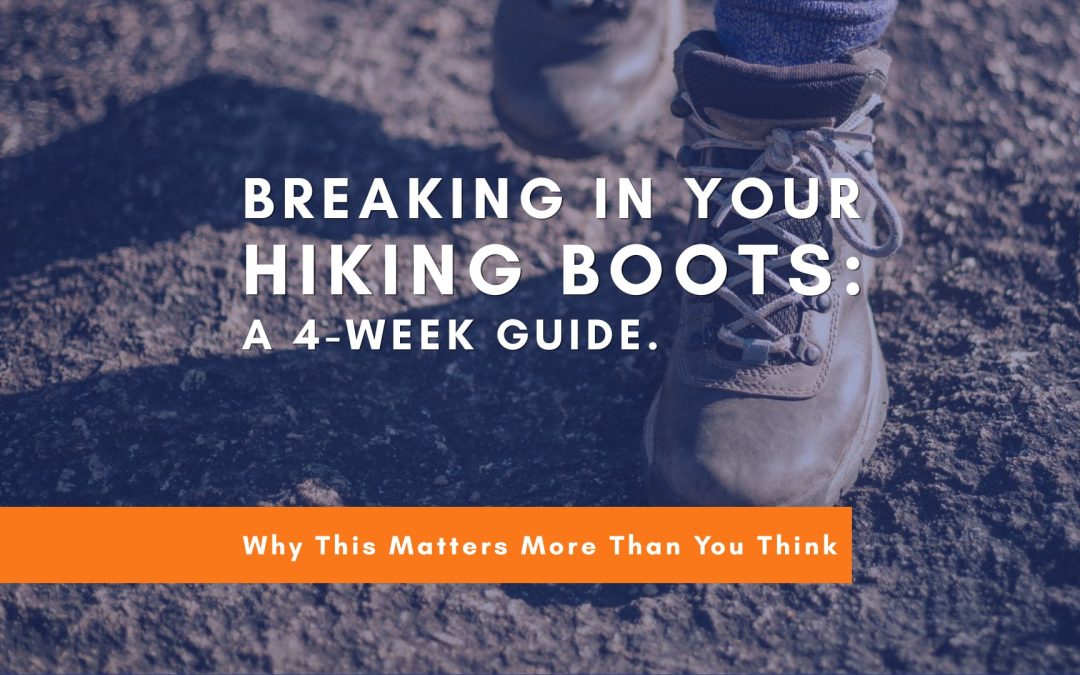
Why This Matters More Than You Think
Let’s be honest: blisters can ruin a Camino faster than bad weather, sore muscles, or that uphill section on Day 3 that nobody warned you about.
And 90% of blister problems? They start with boots that weren’t properly broken in.
You’ve invested in good hiking boots. You’ve booked your Camino. You’re excited about walking 60-100 kilometers through the Karoo. But if those boots haven’t spent quality time with your feet before Day 1, you’re setting yourself up for pain that’s completely avoidable.
The good news: Breaking in hiking boots isn’t complicated. It just requires time and a bit of strategy.
The better news: Four weeks is usually enough to get your boots and feet on speaking terms before you hit the trail.
Week 1: The Gentle Introduction
Goal: Get your feet acquainted with the boots without committing to anything serious.
What to do:
- Wear your boots around the house for 30-60 minutes daily
- Walk on flat, even surfaces (kitchen, living room, hallway)
- Wear the same socks you’ll wear on the Camino (this matters!)
- Do this for at least 5 days this week
What you’re looking for:
- Pressure points (where the boot rubs or pinches)
- Hot spots (areas that feel like they might develop blisters)
- General comfort level when standing and walking slowly
Red flags:
- Sharp pain anywhere (not normal, even for new boots)
- Numbness in toes (boots might be too tight)
- Heel slipping excessively (lacing might need adjustment or boots may be wrong size)
Pro tip: Do this in the afternoon or evening when your feet are slightly swollen from the day. Your feet will also swell during long walks, so you want to know how the boots feel under those conditions.
Week 2: Take It Outside
Goal: Introduce varied terrain and longer durations.
What to do:
- Short walks outside: 20-30 minutes, 3-4 times this week
- Mix surfaces: pavement, gravel paths, grass, uneven ground
- Gradually increase duration as the week progresses
- Still wearing your Camino socks
What you’re looking for:
- How the boots handle different surfaces
- Whether laces need adjusting for comfort
- Any new pressure points that emerge with movement
- How your feet feel after walking (tired is normal; pain is not)
Troubleshooting common issues:
If you’re getting heel blisters: Your boots might be too big, or you need to adjust your lacing technique. Try the “heel lock” lacing method (Google it – it’s a game-changer).
If your toes are hitting the front: Your boots might be too small, or you’re not lacing tightly enough at the ankle. On downhills, your foot slides forward – make sure there’s a thumb’s width of space at the toe when standing.
If the sides are rubbing: This often improves with wear, but you can speed it up by flexing the boot with your hands to soften stiff areas.
Pro tip: If something feels wrong, address it NOW. Week 2 is when most boot issues reveal themselves. Don’t ignore discomfort hoping it will magically improve.
Week 3: Real Distance, Real Terrain
Goal: Simulate actual Camino conditions as closely as possible.
What to do:
- Longer walks: 5-10km, at least twice this week
- Carry a light day pack with water and snacks (weight changes how boots feel)
- Walk on gravel roads or trails if possible
- Include some hills – both up and down
- Aim for 2-3 hours total walking time per session
What you’re looking for:
- How your feet feel at the 5km mark (this is when weaknesses show up)
- Blister formation or hot spots under real conditions
- Whether your boots feel “broken in” or still fighting you
- How your feet recover overnight
This is your final adjustment week:
Still getting blisters? Experiment with:
- Different sock combinations (some people swear by liner socks under hiking socks)
- Blister prevention tape or moleskin on problem areas
- Anti-chafing balm on feet before walking
Boots still feel stiff?
- Walk through wet grass or spray them lightly with water, then wear them until dry (this accelerates the break-in process)
- Use leather conditioner if they’re leather boots (softens without damaging)
Pro tip: This is the week to test your full Camino setup—boots, socks, day pack weight, everything. Don’t wait until Day 1 to discover your pack straps rub or your socks bunch up.
Week 4: Fine-Tuning and Confidence Building
Goal: Walk with confidence that your boots are Camino-ready.
What to do:
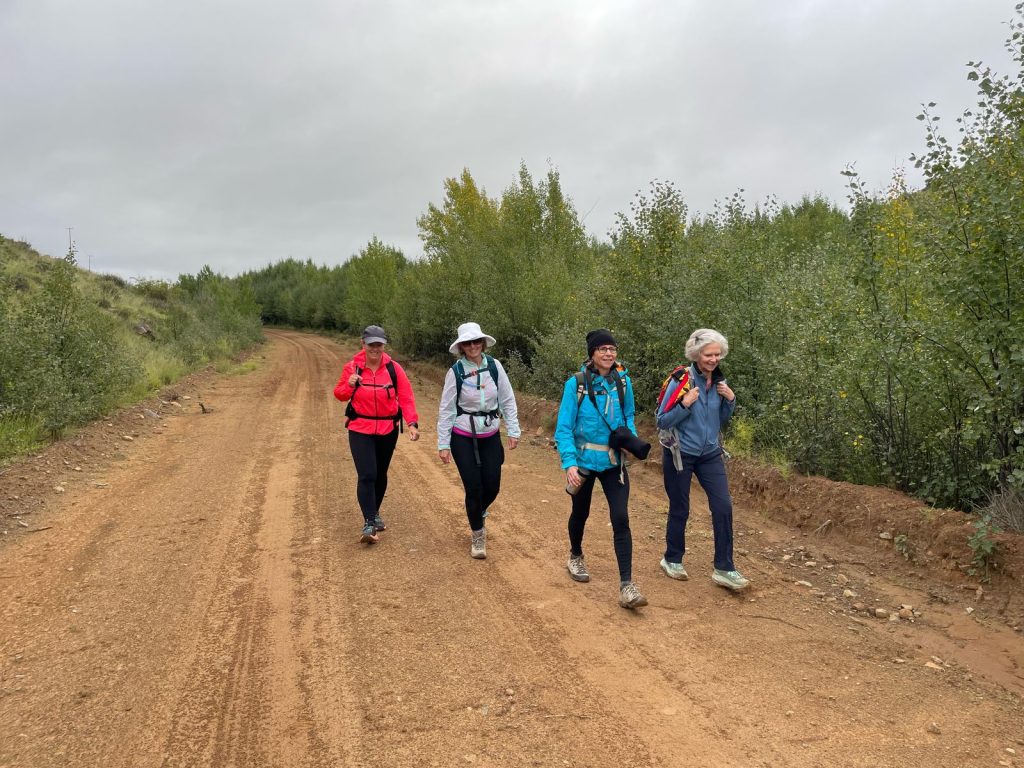
- At least one long walk: 10-15km with full day pack setup
- Mix terrain types in a single walk
- Practice walking for several hours consecutively
- Pay attention to how your feet feel the next day
What you’re looking for:
- Zero blisters (or at least, you know exactly where to tape preventatively)
- Boots that feel like an extension of your feet, not foreign objects
- Confidence that you can walk 20+ kilometers comfortably
Final checklist before your Camino:
✓ Boots have at least 40-60km of walking on them
✓ No new blisters forming on 10km+ walks
✓ You’ve walked in them for 3+ hours consecutively without issues
✓ They’re comfortable with the socks you’ll actually wear
✓ You know your lacing system and can adjust on the trail
✓ Any leather has been conditioned; any waterproofing has been applied
✓ Insoles (if you use custom ones) are properly fitted and broken in
Pro tip: Do your final long walk 3-4 days before your Camino starts. This gives your feet time to recover from any minor issues and lets you identify last-minute adjustments needed.
The Backup Plan: Bring Two Pairs of Shoes
This is advice we give EVERYONE, regardless of how well your boots are broken in:
Bring a second pair of walking shoes on your Camino.
Not as backup in case your boots fail (though that’s a bonus). But to alternate between boots and shoes during your walk.
Why this works:
- Different shoes put pressure on different parts of your feet
- Alternating reduces repetitive friction
- Gives problem areas a break
- Massively reduces blister risk
- Makes long-distance walking way more comfortable
What to bring as your second pair:
- Well-broken-in trail runners
- Lightweight hiking shoes
- Sturdy walking shoes with good support
Not sandals. Not Crocs. Not your “comfortable everyday sneakers.” You need proper walking footwear with ankle support and grip.
Mistake #1: Breaking in boots on the Camino itself
“They’ll soften up after a few days of walking.”
No. They won’t. At least not before they destroy your feet. Break them in BEFORE you arrive.
Mistake #2: Only wearing them around the house
“I wore them while cooking dinner for two weeks!”
Standing still ≠ walking. Boots behave differently under movement and varied terrain. Get outside.
Mistake #3: Breaking them in with different socks
“I’ll just wear my regular socks for now.”
Sock thickness changes how boots fit. Break them in with the exact socks you’ll wear on the trail.
Mistake #4: Ignoring early warning signs
“It’s just a small hot spot, I’m sure it’ll be fine.”
Hot spots become blisters. Blisters become infected blisters. Address issues early when they’re still manageable.
Mistake #5: Buying boots right before your Camino
“The store assistant said they’re pre-broken-in!”
They lied. (Or they’re very optimistic.) Give yourself TIME.
Final Thoughts: It’s Worth the Effort
Four weeks sounds like a long time when you’re excited to start your Camino. But trust us – it’s infinitely better than:
- Limping through Day 2 with raw, bleeding blisters
- Cutting your Camino short because your feet can’t take it
- Spending your rest time treating foot injuries instead of enjoying the Karoo
- Having to choose between pain and giving up
Your Camino should be challenging because of the distance, the terrain, and the mental endurance required. It shouldn’t be challenging because your feet are being tortured by ill-fitted boots.
Break in your boots properly. Bring a second pair of shoes. Pack blister prevention supplies. And walk into your Camino with feet that are ready for 60-100 kilometers of Karoo adventure.
Your feet will carry you through this journey. Take care of them.
Request your info pack today.
Lynnette Blackie
slackpackingthekaroo@gmail.com
📞 +27 (0)82 367 2726
🌐 www.slackpackingthekaroo.co.za
